Tuesday, 21 October 2014

Aqua Tint Samples For Crafters Companion

Good evening crafters!! well ....a few weeks ago I had the absolute pleasure of receiving a set of the totally FABULOUS Aquatints from Crafters Companion to make some samples!! I was soooooooo excited!! Some fabulous Sheena Douglas stencils too and a lovely little pot of Drawing Gum, Well you can imagine how excited I was to received this parcel! I couldn't wait to tear into it to see what goodies I had, My Aquatints were the Pastel collection...oh...my.....beautiful beautiful colours!!
Now I must admit, I love to paint and draw so I couldn't wait to try these out, but, I have never used a stencil or drawing gum before.. so i was a little aprehensive!, 
I had the BEST afternoon in such a long time, got totally covered in ink, made a lovely mess ( remember i did say i've never used a stencil!) and came up with these...
 for this first one I used my pastel aquatints, and the Sheena stencil Eiffel Tower. drawing gum and a white pen. I decided to make a couple of my samples up into calendars for a change from cards. I printed a sentiment - both on water colour card, and used my aquatints to match up with the back ground. I really cant begin to tell you how easy this medium is to use, they blend together effortlessly!
 Next up I used the stencil Beach Huts, here I used a lot more of the drawing gum, this stuffs ACE! you simply paint in on where you want the white to remain, let it dry....paint, ink or whichever you are doing then simply rub the drawing gum away! genius stuff! I then decided on a little spray of Spray and Sparkle- Pearl Diamond in the sky
 now to try something different!, Taking one of my very cute Bebunni christmas stamps, I stamped the image using a Clear Versamark ink pad, then used a white embossing powder over the top, ...blast with the heat gun, and created a white stamped image, then using my Aquatints I simply used them the same as water colour paints stright from the pots, so EASY! for the background I embossed a piece of water colour card with Embossalicious folder Vintage Holly, and simply painted on my colours which blended PERFECTLY
 for my next two...( I was enjoying using my paint brushes by now!) I chose two digi images that you can find on the Spectrum Noir DVD, a Gold fish and a lIlly, I printed both onto watercolour card  as feint as I could, so you could just make out the outline, coloured in with my Aquatints, and then taking a fine line black pen, I sketched over the top
 I love the look of these two with the pen over the top!
and finally a little wall hanging. here I used the stencil Paris Springtime. I wasnt sure where I was going with this one when I started, but I just went with it!! these colours are beautiful! A lovely sentiment that I printed out and coloured up to match the background and finally using my black fine line pen, a few sketch lines over the top.
I really can't wait to collect the rest of the sets! I neeeeeeed them all!, I was amazed by how easily I achieved such smooth blends, you guys need to trust me and treat your self to these ! oooh and it's birthday week this week over at Crafters Companion, so why not check out the fantastic deals they have!! I will be!
Thanks for stopping by to check out my post
Crafty hugs
Nicole
xxx

Monday, 13 October 2014

Time to HOP over at JUST INKLINED!

Good morning crafters!!! its that time again..... to HOP over at 
This month we have the well timed theme of....
 HALLOWEEN!
I have chosewn a digi called " Pumpkins Three"  you can pick it up in store now just over ...HERE!
I decided for this project to make me a lovely new bookmark!, I adore my fabulous collection of horror books, and I have around 350 on my bookshelf! so this seemed the perfect little digi to pop on a bookmark to add to my collection

I have coloured in using my promarkers, colours used are
Chestnut, burnt orange, orange, mandarin, mango and warm greys, 5,4,2,1, then using a fine line black pen I've added some spider webs and spiders!
Now onto the HOP!
I have the pleasure of being the Host this month, so you will have hopped on over to me via our fabulus blog, and so I will now send you "Hopping on your way over to my very talented DT buddy Dawn
We are only a 2 strong team at the moment....(plans are in action so watch this space) so we do thank you very much for joining our teeny tiny hop this month!
and please please do drop a comment as you hop through, we always have a couple of spot prizes up for grabs!
happy craeting
Nicole
xxx

Tuesday, 7 October 2014

Step by Step For Vintage Christmas Game In Crafters Inspiration 5 Project

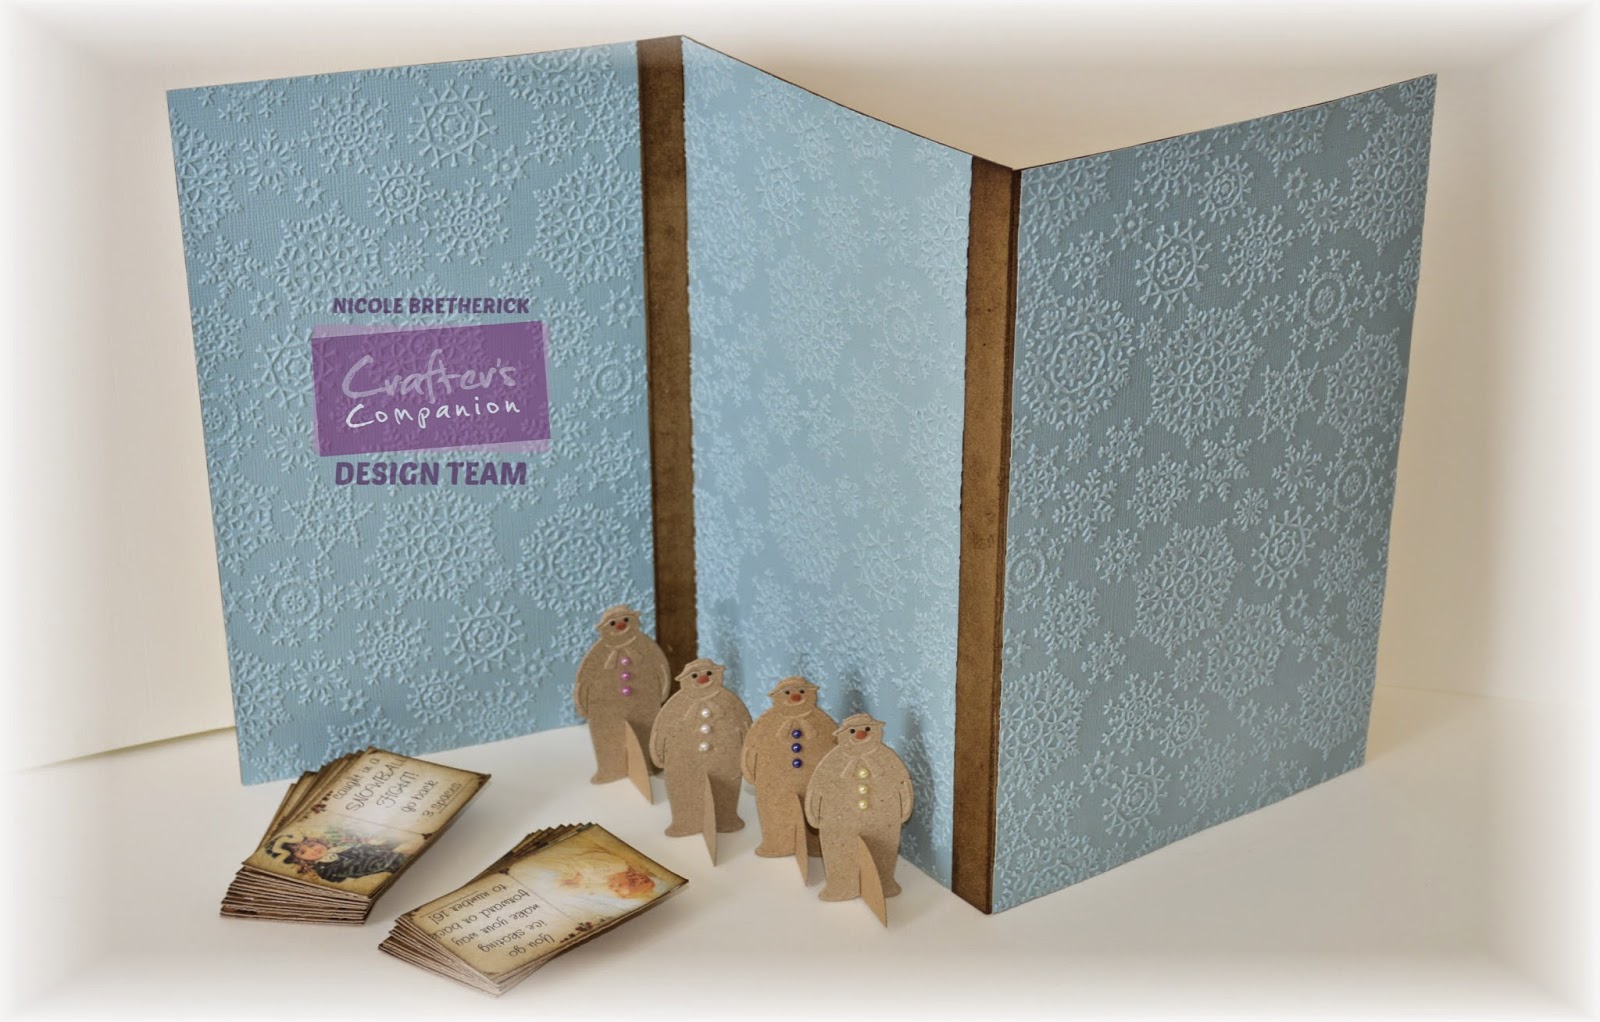
Good evening my lovelies!! It is quite late in my craft room this evening, but I simply must blog my FIRST of 3 games I very proudly made for the latest edition of Crafters Inspiration 5 magazine for Crafters Companion. When the girls on the design team were asked to submit ideas for the upcoming Christmas edition I decided to delve back into the days when I used to work in pre-school and designed 3 children's games, well you can imagine how OVER THE MOON I was, when I was chosen to be one of the DT gals to make my projects for the magazine! just amazing! ...now to turn my ideas into the REAL thing!, armed with lots of doodles and scibbles, from what I wanted to create, I set to making my first game
The Snowman Run Home For Christmas Game!
Now if you have the magazine you will see the finished piece, but here on my blog I can go into lots more detail and give you the step by step pictures in case you would like to give it go!

To make this game I used a graphic programme, for me, I mainly use My Craft Studio, its a brilliant programme, but you can just as easily use Serif, or Docrafts digital designer.( if you DONT use graphic programmes don't despair!! as long as you can print out the elements you can still make this game just tweak it for you!)


import your chosen backing paper into a graphic programme and re size to 14.5 x 21.5 cm then using a 2.5cm round digital punch, mark out your spaces, I've made 43 with the HOME circle being larger. Number all your spaces, but make sure you number every now and then in RED- ( land on a red number turn over a forfeit card! ) up to you how many red ones you choose to have!
NEXT- take 3 pieces of Crafters Companion Kraft card measuring 2 at 16.5 x 22.5 cm- score both of these at 15 cm to give you a 1.5 cm lip, and your 3rd piece needs to measure 15 x 22.5 cm- NO LIP on this one as it is the end piece.
Distress all the edges front and back  ( its a VINTAGE game after all!)  i've used Tim Holtz Walnut Stain, then using CC Red liner tape along both lips, join your 3 pieces together to make a tri folding board. 
Next take your 3 front panels, distress also and secure to your board base using collall tacky glue...its all starting to come together now!!
 time to decorate!! 
 Print off a selection of toppers and run them through an embossing machine with the Crafters Companion folder Softly Falling
Distress them and glue into place on your board

FORFEIT CARDS! Here is where you can let your imagination run wild and have fun!
Take the post cards from your free cd rom and pop into your graphic programme, re size them, mine are A7 but its totally up to you its YOUR game, type on to each one your chosen forfeit, print and cut out
Distress the edge of each one, and then to line the back to not only make them pretty but also sturdy, emboss some Kraft card and glue each forfeit card to it, then cut each one out ( much easier than trying to back each piece!)
Voila! Forfeit cards! How fab are these!! Next you need playing pieces, here is where your fabulous free die comes in!
cut as many players as you would like to have, I've made a simple semi circular base with a couple of slits to make them slot together to stand, then decorate each a different colour, so you know whose piece is who!
To finish off I have taken some Core'dinations cards stock, embossed with Softly falling snow and lined the back of my board,
the final piece is to make your spinner! or if you prefer you could use some dice, I made a simple spinner using elements from the cd rom and a small wooden dowel, 
No game would be complete with out a box!, again using some CC Kraft card, and my boxer board i made a box to fit my game, distressing the edges
I printed a piece of lovely vintage paper to decorate my lid that I embossed and glittered, then made a topper with my board name on!
 I embossed more Core'dinations card stock to line the inside, then I printed out my game instructions, and secured them inside my box lid,


A Simple Die'Sire Snowflake die and some lashing of glitter to decorate
and there you go! One Vintage Snowman Game!, you can make your game as BIG as you like, maybe I'll try two pieces of A3 card next time with lots more forfeits too!
I have LOVED making this game i really did enjoy it, and I hope maybe you will give it a try!, with two more games to come I hope you will pop back this week to take a look at them!
Happy creating
Nicole
xxx

Sunday, 5 October 2014

October Challenge over at Crafters Companion

Hi crafters !! Head on over to the Crafters Companion face book page just  HERE!! and join in with this months brand new October challenge to win £30 worth of fabulous vouchers!!!
Our theme this month is "Buttons and Bows" ...or why not both!
here is my design team card for this challenge...
I have used an extremely CUTE image from the Crafters Companion CD rom Makey Bakey Mice, then a simple paper bow with a pretty pink button centre and a few highlights of glitter! I do love these little mice, and I have to admit this is my first make using them!
Thanks for stopping by and i hope you will pop along and join us this month!
crafty hugs
Nicole
xxx

Crafting Musketeers Challenge # 18- Autumn Colours

Hi crafters!! We have a BRAND NEW challenge out now over at the Crafting Musketeers!!
This months challenge is number 18 and we have the theme of " Autumn Colours" which is just perfect for this time of year dont you think?
Autumn is my favourite season! I just love watching the autumn leaves start to change colour, the wind gets that bit more blustery and the nights slowly start to draw in, I think its a beautiful season!
Our fabulous sponsor this month is Hobby House and we have a lovely £10 voucher up for grabs!! So get out your craft stash and come and join us!, here is my Design Team card this month...
I have chosen to use the most lovely Autumn image from one of the Crafters Companion CD Roms, Brambly Hedge Winter. I LOVE It!, quite simple, with one of the coordinatiung background papers in such lovely oranges, browns and yellow tomes. I popped on to google and searched for an Autumn poem, to use too, then mat and layered onto some lovely burnt oange card, some ribbon, and to finish off I punched some maple leaves using a Woodware punch.
so now its your turn!
there are only a few rules to follow and I'm sure you know them by now :) 
1. One entry per person
2. your project must follow the theme
3.You must be a blog follower to win the prize
4.Please claim your prize within 7 days or the winner will be re drawn
5.We are happy for you to link our challenge with as many others as you wish to enter
6.You do not need to have a blog..simply enter over at our face book page just ...HERE!
once again I look forward to seeing all your creations this month so please  do come and join us!!!!
Love n Hugs
Nicole
xxx